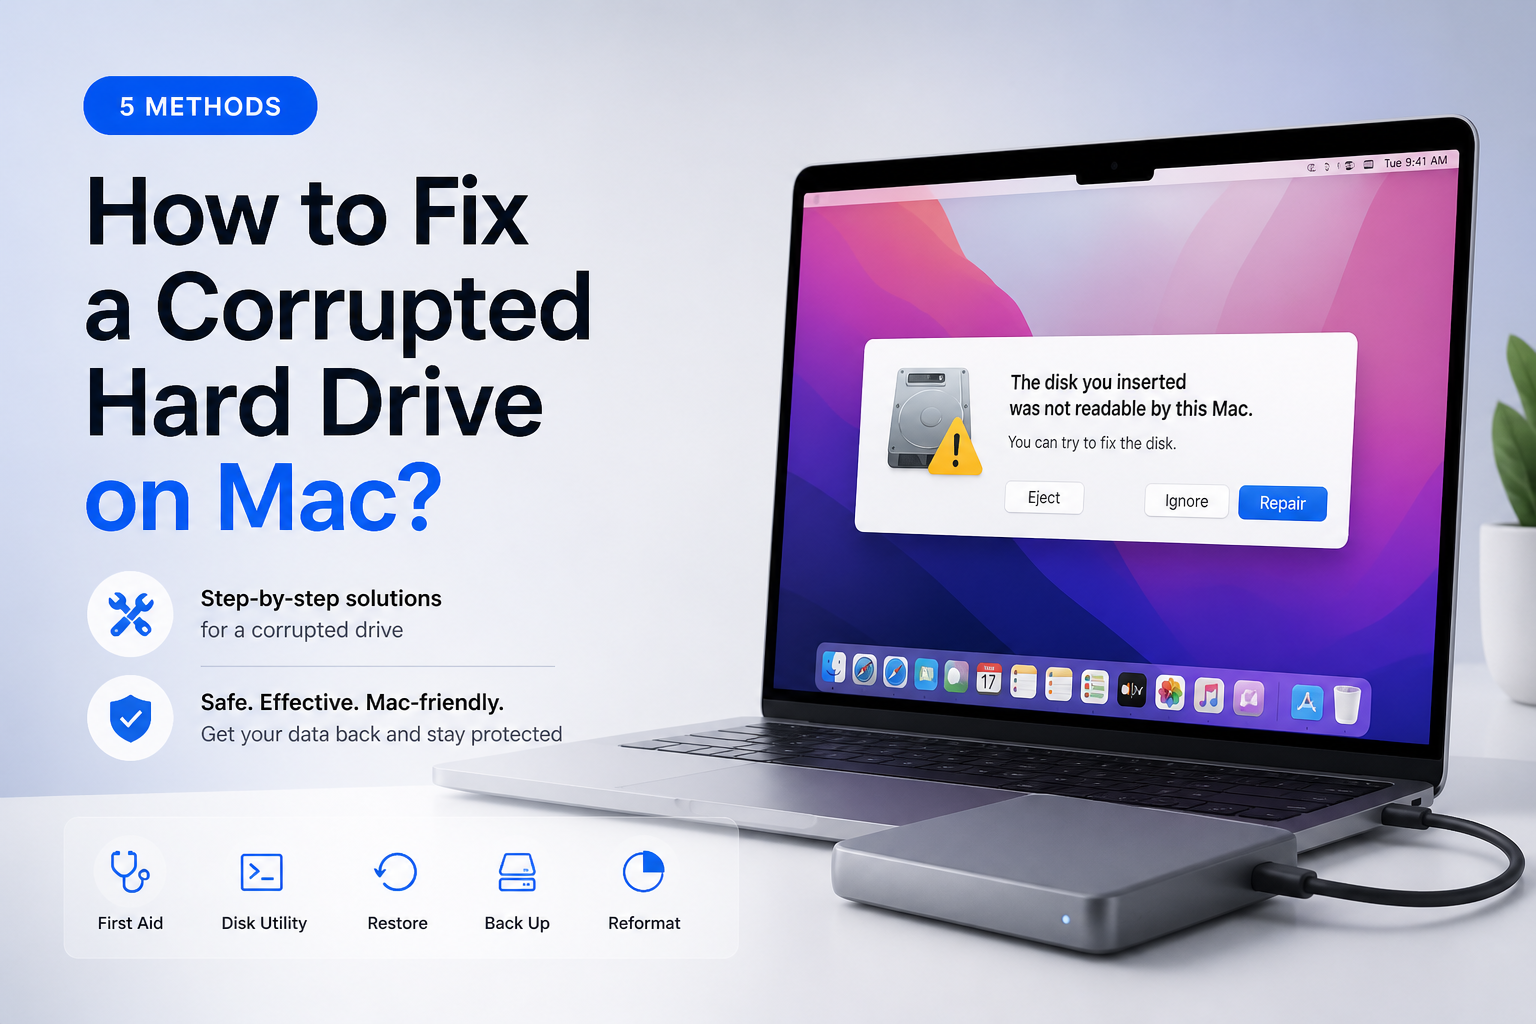
How to Fix a Corrupted Hard Drive on Mac? 5 Methods
A corrupted drive may have a damaged file system, a failing connection, or physical trouble. Start by protecting the files, then move from gentle checks to destructive repair.
Recover important files before changing the drive. If it still appears in Disk Utility, scan it with Disk Drill, save the results elsewhere, then run First Aid. Reformat only after your files are safe.
Stop using the drive if it clicks, grinds, disconnects repeatedly, or vanished after a drop. Do not erase it, run repeated scans, or attempt home repairs when the data matters. Disconnect it, then contact a recovery lab.
Recover Files Before Repair → Disk Drill for Mac
Scans corrupted or inaccessible storage · Previews found files before recovery · Supports macOS
Top 5 Methods to Fix a Corrupted Hard Drive on Mac
01 Recover Files With Disk Drill Before Repairs
Safest first move when the corrupted drive still appears on your Mac
~15 min or more
Recover Files With Disk Drill Before Repairs
Safest first move when the corrupted drive still appears on your Mac
Repair tools can change a damaged file system, so rescue important files first. Disk Drill can scan a drive that still appears in macOS, preview recoverable items, plus copy selected files to healthy storage.
- Stop saving files to the corrupted disk. Connect a separate healthy drive with enough free space for recovered data.
- Download Disk Drill from the official website, install it on a healthy disk, then open it.
- Select the corrupted physical drive. If the hardware seems unstable, use Byte-to-byte Backup first, then scan the resulting image instead of repeatedly reading the original.
- Click Search for lost data. Let the scan finish, or review found files while it continues.
- Preview several important files. Select the usable items, click Recover, then choose the separate healthy drive as the destination.

02 Run First Aid in Disk Utility
Best for directory errors on a drive that stays connected
~5–30 min
Run First Aid in Disk Utility
Best for directory errors on a drive that stays connected
Disk Utility’s First Aid checks a volume’s file-system structures, then repairs errors it recognizes. Back up or recover valuable files before running it whenever possible.
- Open Disk Utility from Applications › Utilities.
- Choose View › Show All Devices so the sidebar displays volumes, containers, plus physical devices.
- Select the lowest volume beneath the affected drive, then click First Aid › Run.
- Repeat First Aid upward through each remaining volume, the container, then the physical device.
- Eject the drive after First Aid completes, reconnect it, then test several files rather than checking only whether the disk opens.
03 Check the Drive With fsck
Useful when Disk Utility will not complete its repair
~10–45 min
Check the Drive With fsck
Useful when Disk Utility will not complete its repair
The command-line
fsck
utilities inspect file systems without Disk Utility’s graphical interface. A wrong disk identifier can target the wrong volume, so verify every character before running a command.
- Open Terminal, enter
diskutil list, then identify the affected volume by its size, name, plus format. - Write down its identifier, such as
disk4s2. Do not guess from the order shown in Finder. - Unmount the volume with
diskutil unmount /dev/disk4s2, replacing the example identifier with the correct one. - For an APFS volume, run
sudo fsck_apfs -y /dev/disk4s2. For HFS+, usesudo fsck_hfs -fy /dev/disk4s2. - When the check finishes, enter
diskutil mount /dev/disk4s2, then copy important files off immediately if the volume opens.
04 Erase and Reformat the Corrupted Drive
A clean reset after needed files are safely recovered
~5–20 min
Erase and Reformat the Corrupted Drive
A clean reset after needed files are safely recovered
Reformatting replaces the damaged file-system structure, which often makes a logically corrupted disk usable again. It permanently removes the drive’s current contents, so this method belongs after recovery.
- Confirm that recovered files open from another drive. Check a few large videos, archives, photos, plus documents.
- Open Disk Utility, choose View › Show All Devices, then select the physical drive rather than an indented volume.
- Click Erase. Choose APFS for a Mac-only SSD or modern Mac drive. Choose ExFAT for routine sharing with Windows.
- Use GUID Partition Map when the Scheme menu appears, enter a clear drive name, then click Erase.
- Copy a small test folder to the reformatted disk, eject it properly, reconnect it, then confirm the files remain readable.
05 Send the Drive to a Recovery Lab
Right choice for clicking, impact damage, or a disk that never appears
~2–10 days
Send the Drive to a Recovery Lab
Right choice for clicking, impact damage, or a disk that never appears
Software cannot repair a broken read head, seized motor, damaged controller, or severe electronic failure. A recovery lab may work from the original media using specialized hardware, though results are never guaranteed.
- Shut down the Mac or disconnect the external drive if you hear clicking, grinding, repeated spin-up sounds, or sudden dropouts.
- Do not open the drive enclosure, freeze the disk, tap it, or keep reconnecting it to see if it works once more.
- Ask the lab whether diagnosis is free, whether approval is required before paid work, plus how recovered data will be returned.
- Describe any drop, liquid exposure, power surge, encryption, repair attempt, or unusual sound when submitting the case.
- Package the powered-off drive in an antistatic bag with firm padding. Keep your password or recovery key available if the data is encrypted.
How to Tell Logical Corruption From Physical Drive Failure
A drive that appears in Disk Utility with the correct capacity but refuses to mount often has a file-system or partition problem. That is a reasonable case for recovery software, First Aid, or fsck.
Clicking, grinding, no spin, a burned smell, wildly incorrect capacity, plus repeated disconnections point toward hardware trouble. Software cannot make damaged mechanical parts reliable.
When Not to Repair a Corrupted Mac Drive Yourself
Skip do-it-yourself repair if the missing files are the only copies of legal records, paid client work, research, or family media. The same applies after liquid exposure, a hard drop, or an electrical surge.
Encryption also raises the stakes. Keep the FileVault password, recovery key, or external-drive password available. A successful physical recovery may still produce unreadable data without the key.
Choose the Right Method for a Corrupted Mac Hard Drive
Begin with the least destructive option that fits the drive’s symptoms.
| Method | Best for | Time | Success rate |
|---|---|---|---|
| 1. Recover Files With Disk Drill Before Repairs TRY FIRST | Protecting files before repair | ~15 min or more | ● 82% |
| 2. Run First Aid in Disk Utility | Common file-system errors | ~5–30 min | ● 78% |
| 3. Check the Drive With fsck | Errors First Aid cannot clear | ~10–45 min | ● 62% |
| 4. Erase and Reformat the Corrupted Drive | Reusing a logically damaged disk | ~5–20 min | ● 90% |
| 5. Send the Drive to a Recovery Lab | Physical damage or missing drives | ~2–10 days | ● 70% |
Which Mac Hard Drive Fix Should You Try?
Start with Disk Drill if the drive contains files you cannot replace. Recover them to healthy storage before First Aid, fsck, or erasing changes the damaged file system. First Aid suits ordinary directory errors, while reformatting offers a clean reset once the data is safe.
A drive that clicks, disappears, or repeatedly disconnects needs a different response. Power it down, skip software repairs, then let a recovery lab assess the hardware.
Recover first, repair second, then replace the drive if the same corruption or connection problem returns.