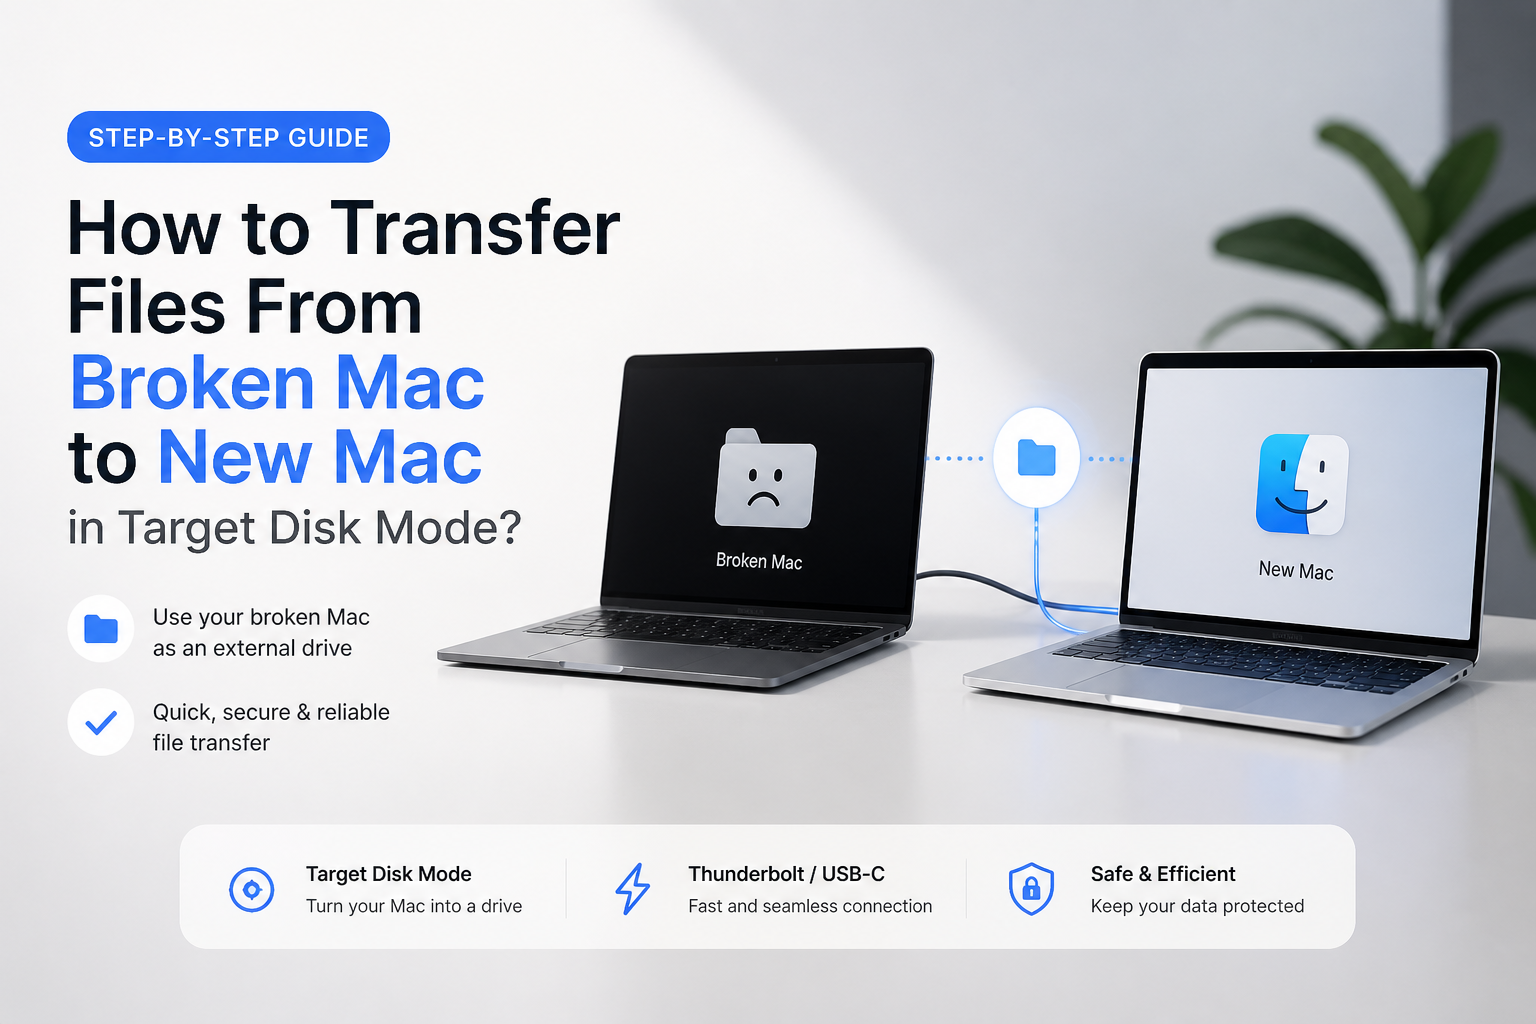
How to Transfer Files From Broken Mac to New Mac in Target Disk Mode?
If the old Mac still powers on, it may work like an external drive long enough to rescue your files. The right steps depend on whether it has an Intel processor or Apple silicon.
For an Intel Mac, connect it to the new Mac with Thunderbolt, start it while holding T, then copy files from the mounted volume in Finder. If Finder cannot read the files, scan that volume with Disk Drill. On an Apple silicon Mac, use Share Disk from macOS Recovery instead.
Stop powering on a Mac with clicking sounds, liquid damage, severe heat, repeated disconnections, or a drive that vanishes during copying. Extra attempts can make physical damage worse. Never recover files back onto the same storage being scanned.
Recover Unreadable Files From a Target Mac → Disk Drill
Scans an Intel Mac mounted through Target Disk Mode · Previews found files before recovery · Runs on macOS plus Windows
Choose a File Transfer Method for Your Broken Mac
Start with the least invasive option that matches the old Mac's processor plus storage condition.
| Method | Best for | Time | Success rate |
|---|---|---|---|
| 1. Copy Files Through Target Disk Mode in Finder TRY FIRST | Readable Intel Mac storage | ~15 min | ● 90% |
| 2. Scan the Target Mac With Disk Drill | Missing or unreadable files | ~30 min–several hours | ● 72% |
| 3. Share the Disk From macOS Recovery | M-series Mac file access | ~20 min | ● 85% |
| 4. Restore the Mac From a Time Machine Backup | Macs with a recent backup | ~1–6 hr | ● 95% |
| 5. Send the Broken Mac to a Recovery Lab | Physical or severe hardware failure | ~3–14 days | ● 60% |
How to Tell Whether the Broken Mac Supports Target Disk Mode
Classic Target Disk Mode is for Intel-based Macs. If the old Mac can still reach macOS, open About This Mac to check its processor. If it cannot boot, look up the model number printed on the case or packaging.
An M-series model uses Apple silicon, so holding T will not start classic Target Disk Mode. Boot to macOS Recovery, then use Share Disk instead.
When Target Disk Mode Could Put Mac Data at Greater Risk
Target Disk Mode is reasonable for a software-damaged Mac whose storage remains stable. It is a poor first move after a liquid spill, hard impact, electrical event, or obvious mechanical failure.
Also pause if copying slows to zero, Finder repeatedly disconnects, or Disk Utility loses sight of the device. Those symptoms can point to unstable hardware rather than a simple startup problem.
Top 5 Ways to Transfer Files From a Broken Mac to a New Mac
01 Copy Files Through Target Disk Mode in Finder
The quickest route when an Intel Mac still powers on plus its storage mounts normally
~15 min
Copy Files Through Target Disk Mode in Finder
The quickest route when an Intel Mac still powers on plus its storage mounts normally
Target Disk Mode turns the old Intel Mac into an external drive. Once its volume appears on the new Mac, copy the irreplaceable folders first rather than trying to move the whole drive in one pass.
- Check that the broken Mac uses an Intel processor, then shut it down. Apple silicon models need Share Disk instead.
- Connect both Macs with a compatible cable. Use a Thunderbolt cable if either Mac runs macOS 11 or later. A USB-C charging cable may fit while lacking the required data connection.
- Press the old Mac's power button, then immediately hold
Tuntil a disk or Thunderbolt symbol appears. - Open Finder on the new Mac. Select the old Mac's volume under Locations, then enter the old account password if FileVault asks for it.
- Copy Documents, Desktop, Pictures, Movies, Music, project folders, plus any local archives to the new Mac or a separate external drive.
- Control-click the mounted volume in Finder, choose Eject, shut down the old Mac, then disconnect the cable.

02 Scan the Target Mac With Disk Drill
Useful when the drive appears but Finder cannot copy everything you need
~30 min–several hours
Scan the Target Mac With Disk Drill
Useful when the drive appears but Finder cannot copy everything you need
A volume can mount in Target Disk Mode yet contain missing folders, unreadable files, or directory damage. Disk Drill runs on the healthy Mac, scans the attached target storage, then saves recoverable files somewhere else.
- Start the Intel Mac in Target Disk Mode, then confirm that its physical storage or volume appears in Disk Utility on the new Mac.
- Install Disk Drill on the new Mac, not on the damaged Mac or its mounted volume.
- Connect an external drive with enough room for recovered data. Do not use the source volume as the recovery destination.
- Open Disk Drill, grant the macOS permissions it requests, select the target Mac's storage, then click Search for lost data.
- Review found files by type, path, search term, or date. Preview several important files before committing to a large recovery.
- Select the files, click Recover, then save them to the new Mac or external drive.
04 Restore the Mac From a Time Machine Backup
Usually cleaner than reading unstable storage from the broken computer
~1–6 hr
Restore the Mac From a Time Machine Backup
Usually cleaner than reading unstable storage from the broken computer
If a recent Time Machine backup exists, the old Mac may not need to power on at all. Setup Assistant or Migration Assistant can bring user accounts, files, settings, plus many apps onto the new Mac.
- Connect the Time Machine drive directly to the new Mac, or place the new Mac on the same network as the backup location.
- During initial setup, choose the option to transfer information from a Mac, Time Machine backup, or startup disk.
- If setup is already complete, open Migration Assistant from Applications > Utilities, then select the Time Machine option.
- Choose the most recent healthy backup, then select the accounts, applications, settings, plus files you want to transfer.
- Keep the new Mac connected to power until migration finishes. Large backups can sit on the same progress estimate for quite a while.
- Sign in to the transferred account, then check current work against the backup date. Use Target Disk Mode or Share Disk only for newer files that were never backed up.
05 Send the Broken Mac to a Recovery Lab
The safer choice for failing hardware, liquid damage, or storage that never appears
~3–14 days
Send the Broken Mac to a Recovery Lab
The safer choice for failing hardware, liquid damage, or storage that never appears
Software methods need the Mac to power on plus expose its storage. A specialist is the sensible next step if the computer clicks, repeatedly disconnects, overheats, has liquid damage, or shows no internal disk in Recovery.
- Shut down the broken Mac. Avoid repeated Target Disk Mode attempts if its behavior changes, I/O errors multiply, or the connection keeps dropping.
- Write down the Mac model, year, symptoms, FileVault status, known passwords, plus the folders that matter most.
- Ask the lab whether it handles soldered Apple storage, T2-equipped Macs, Apple silicon models, plus encrypted APFS volumes.
- Request a written evaluation covering diagnostic fees, likely cost, return media, privacy handling, plus what happens if recovery fails.
- Provide the login or recovery information only through the lab's approved secure process. FileVault-protected data generally cannot be decrypted without valid credentials.
- When the recovered drive arrives, copy it to another location before sorting or renaming anything.
Which Broken Mac Transfer Method Should You Use?
Try Finder through Target Disk Mode first when the broken computer is an Intel Mac with readable storage. Use Share Disk for Apple silicon, or restore Time Machine if you already have a recent backup. If the disk mounts but files are missing or unreadable, Disk Drill can scan it from the healthy Mac without installing recovery software on the source.
Skip home recovery once the hardware shows signs of physical failure. At that point, fewer power cycles may matter more than trying another app or cable.
Rescue unique work, family photos, financial records, plus password vaults first, then return for replaceable downloads or applications.